Tabs & Tidbits

Tasty Vegetarian Recipes & Cat Life

  • Home
  • About
    • About Me
    • About Cooper
    • FAQ
      • Privacy Policy and Disclosure
    • Contact
  • Recipes
    • Appetizers
    • Beverages
    • Bread
    • Breakfast
    • Dessert
    • Dinner
    • Healthy
    • Lunch
    • Main Dishes
    • Salads
    • Seasonings and Condiments
    • Side Dishes
    • Slow Cooker
    • Snacks
    • Soup
    • Sweets
  • Cat Corner
    • Cooper
    • Tabby Tuesday
  • Life
    • Home and Garden
  • Resources

No-Bake Butterfinger Pie

December 14, 2016 by Dayna

Spread the love

No Bake Butterfinger Pie

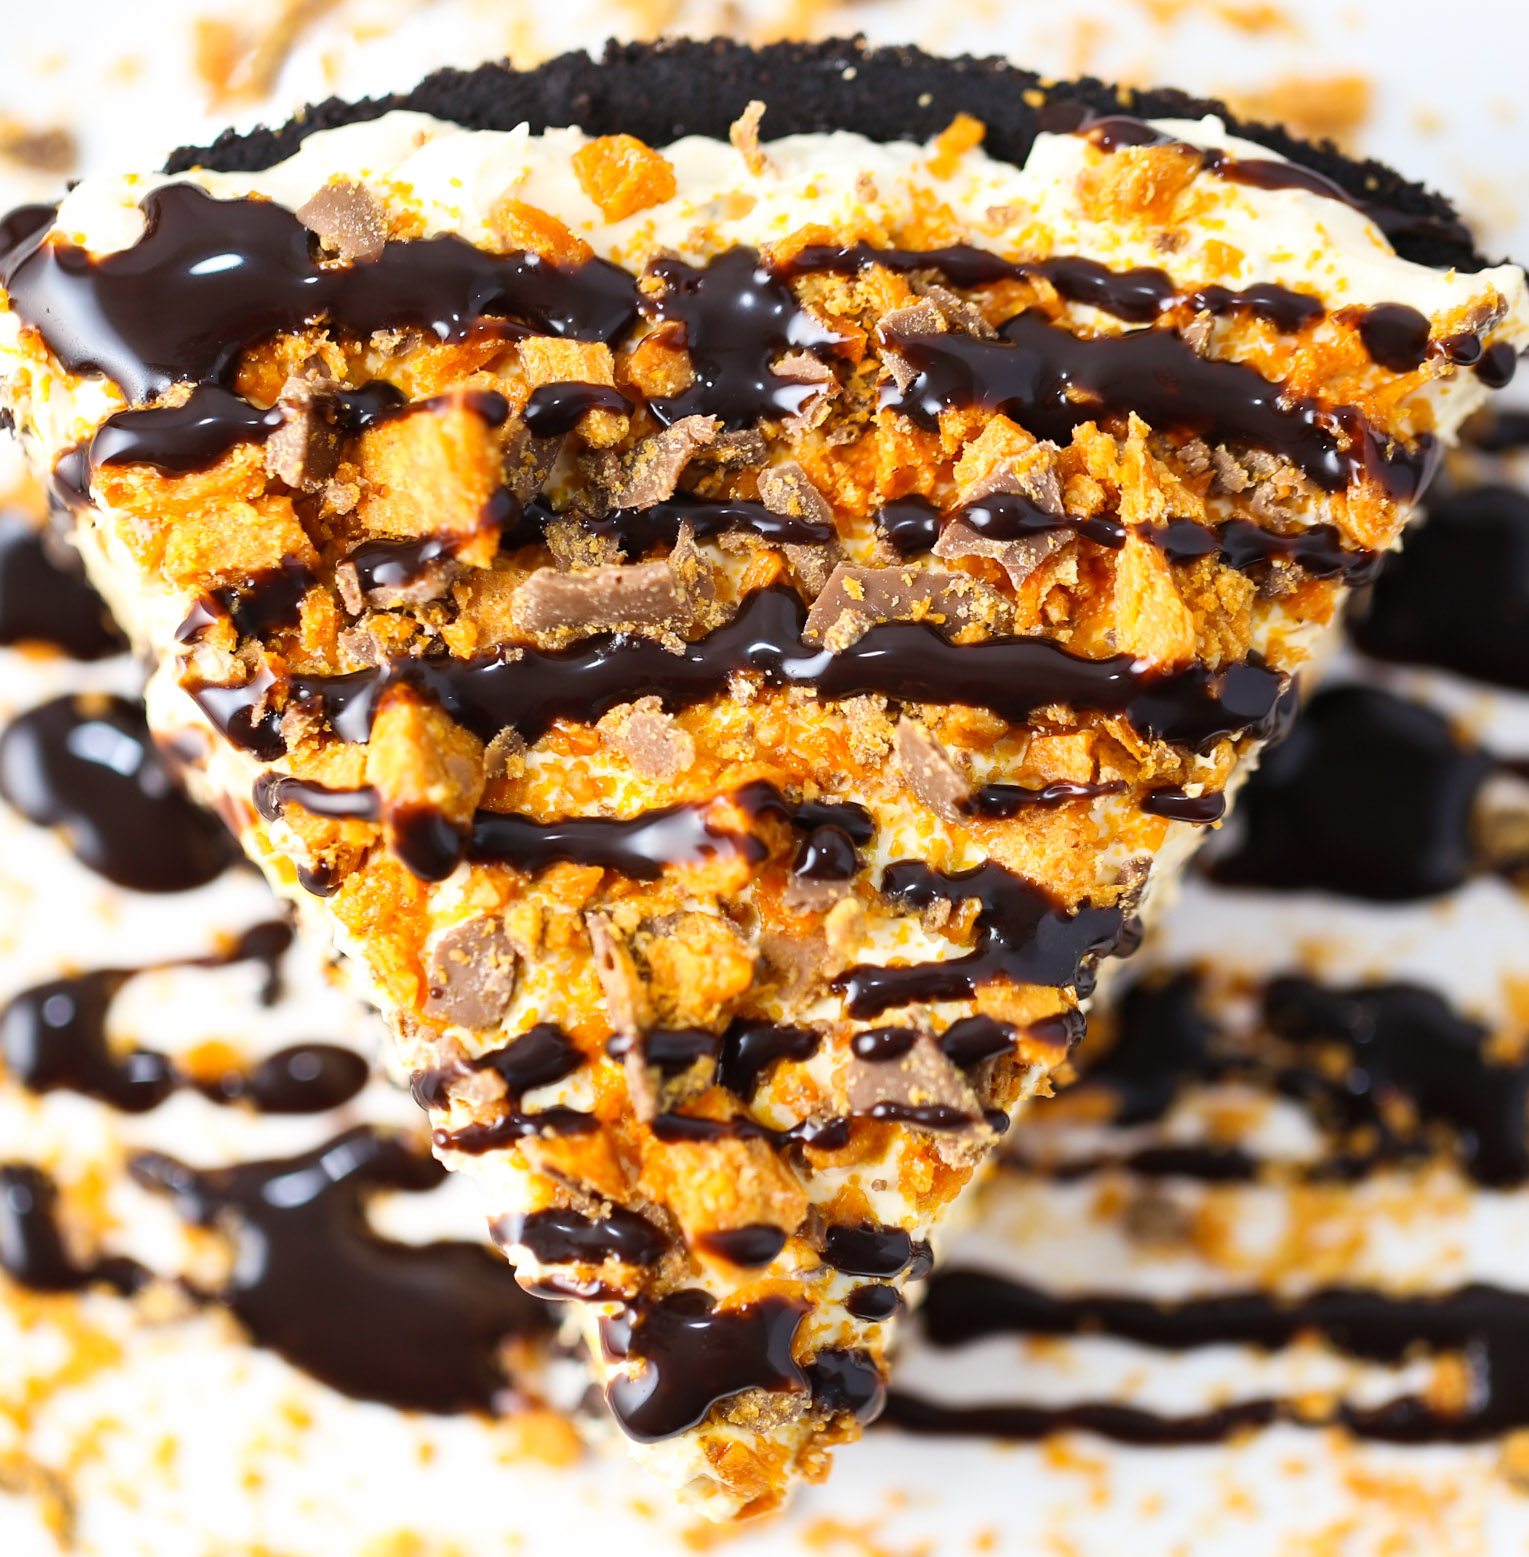
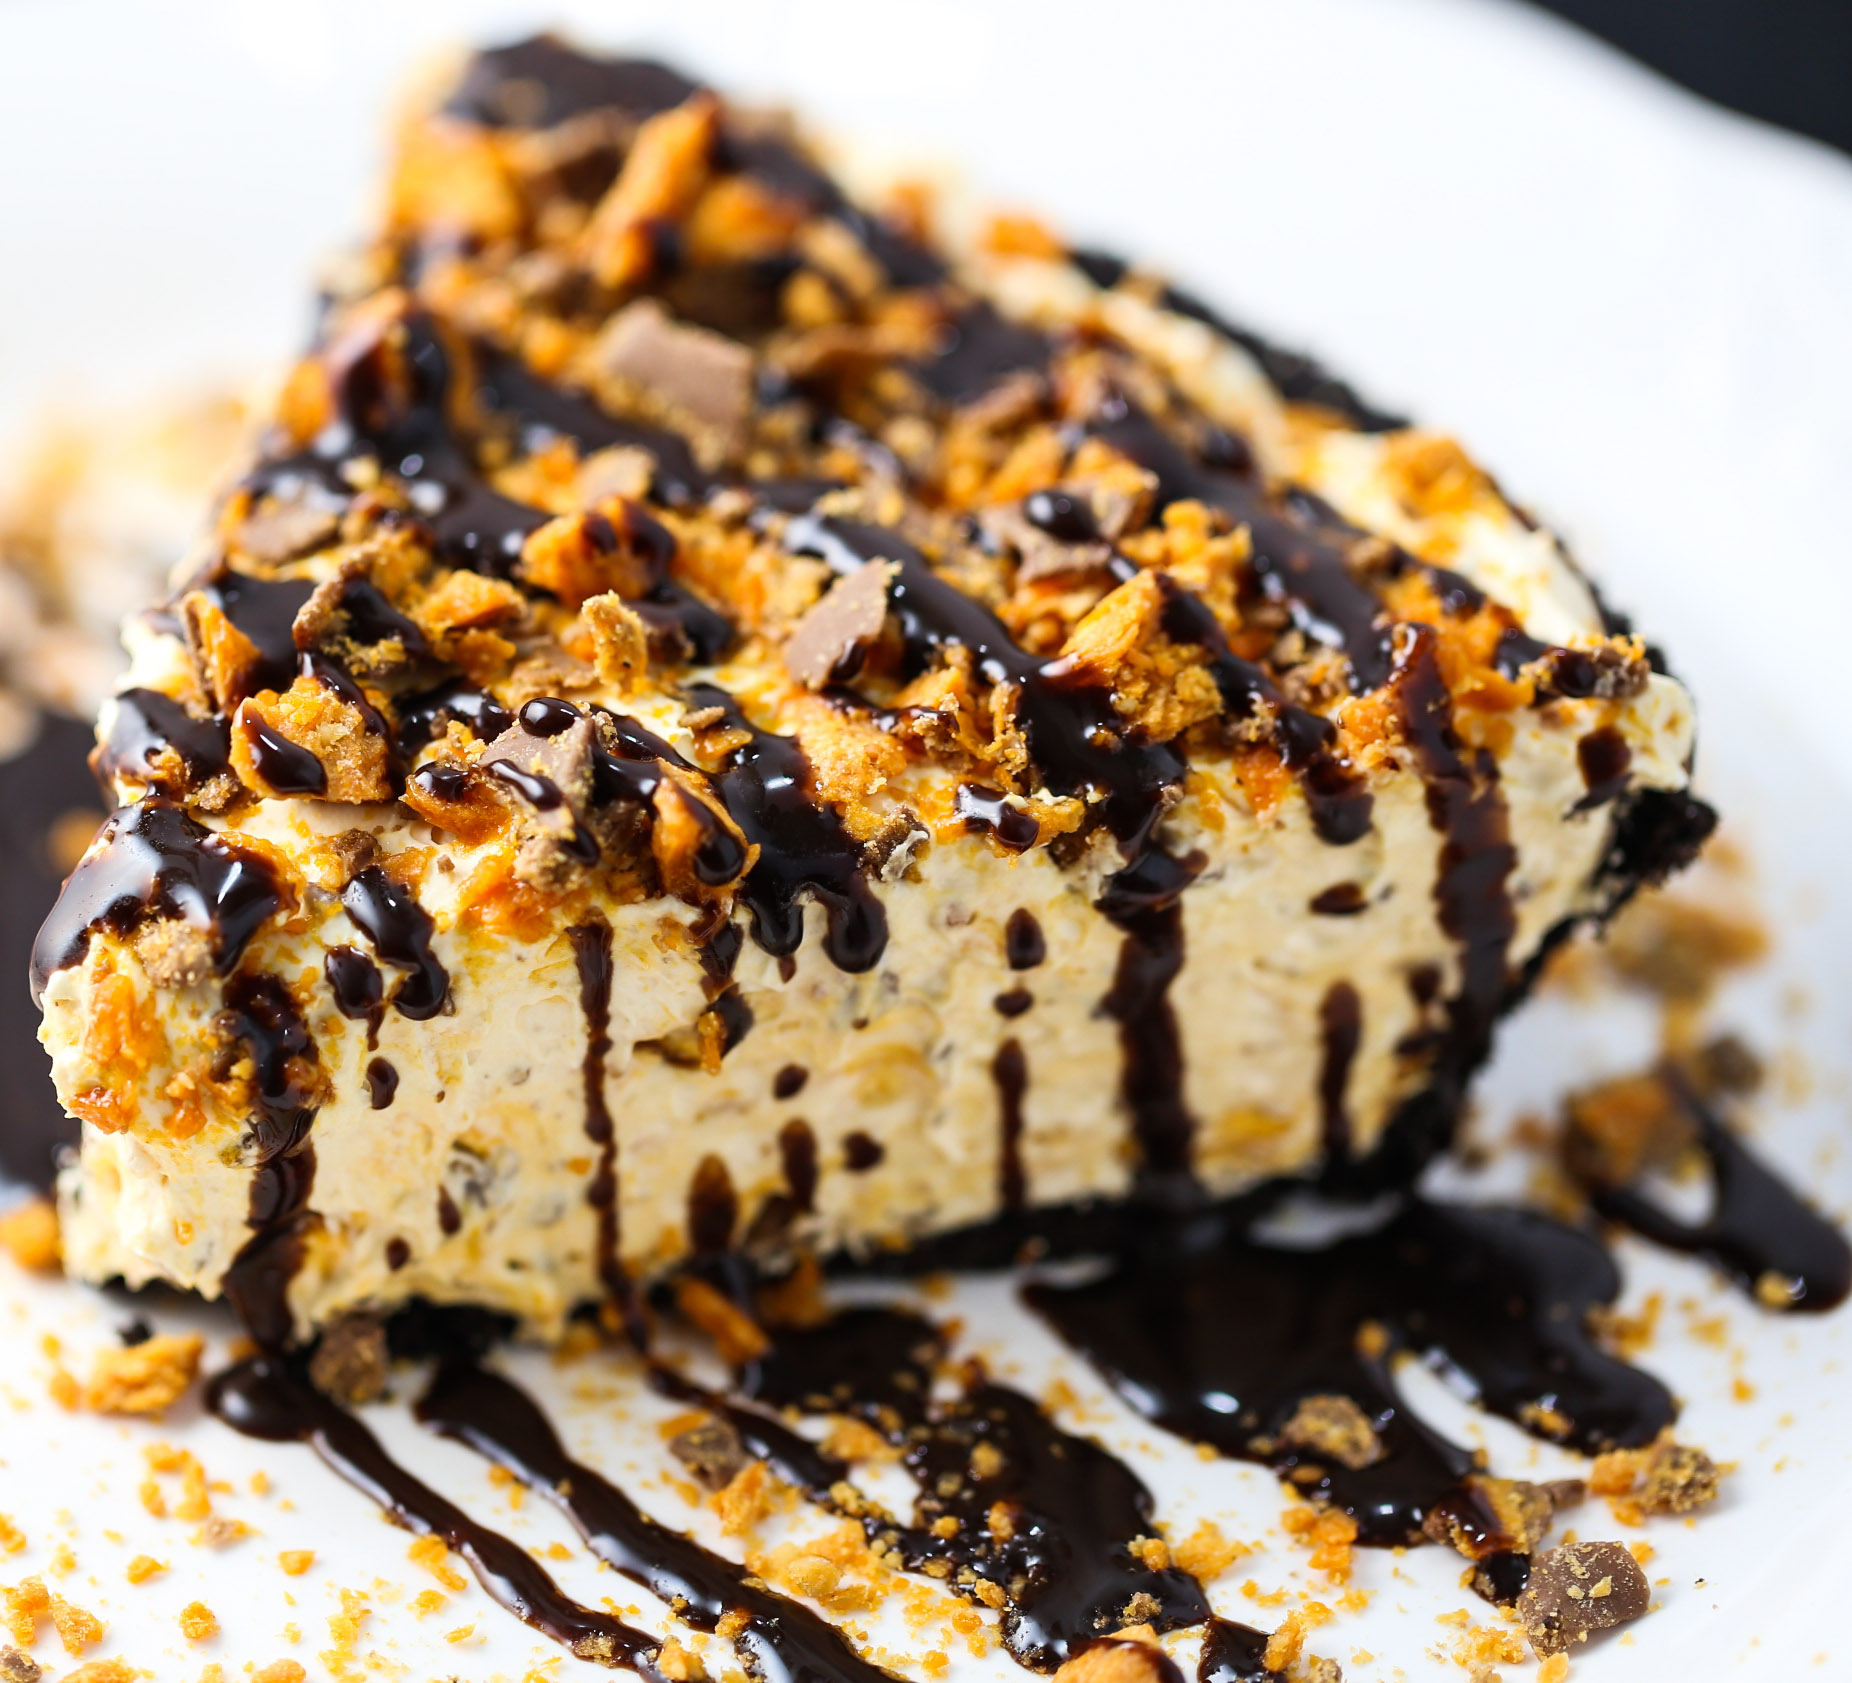
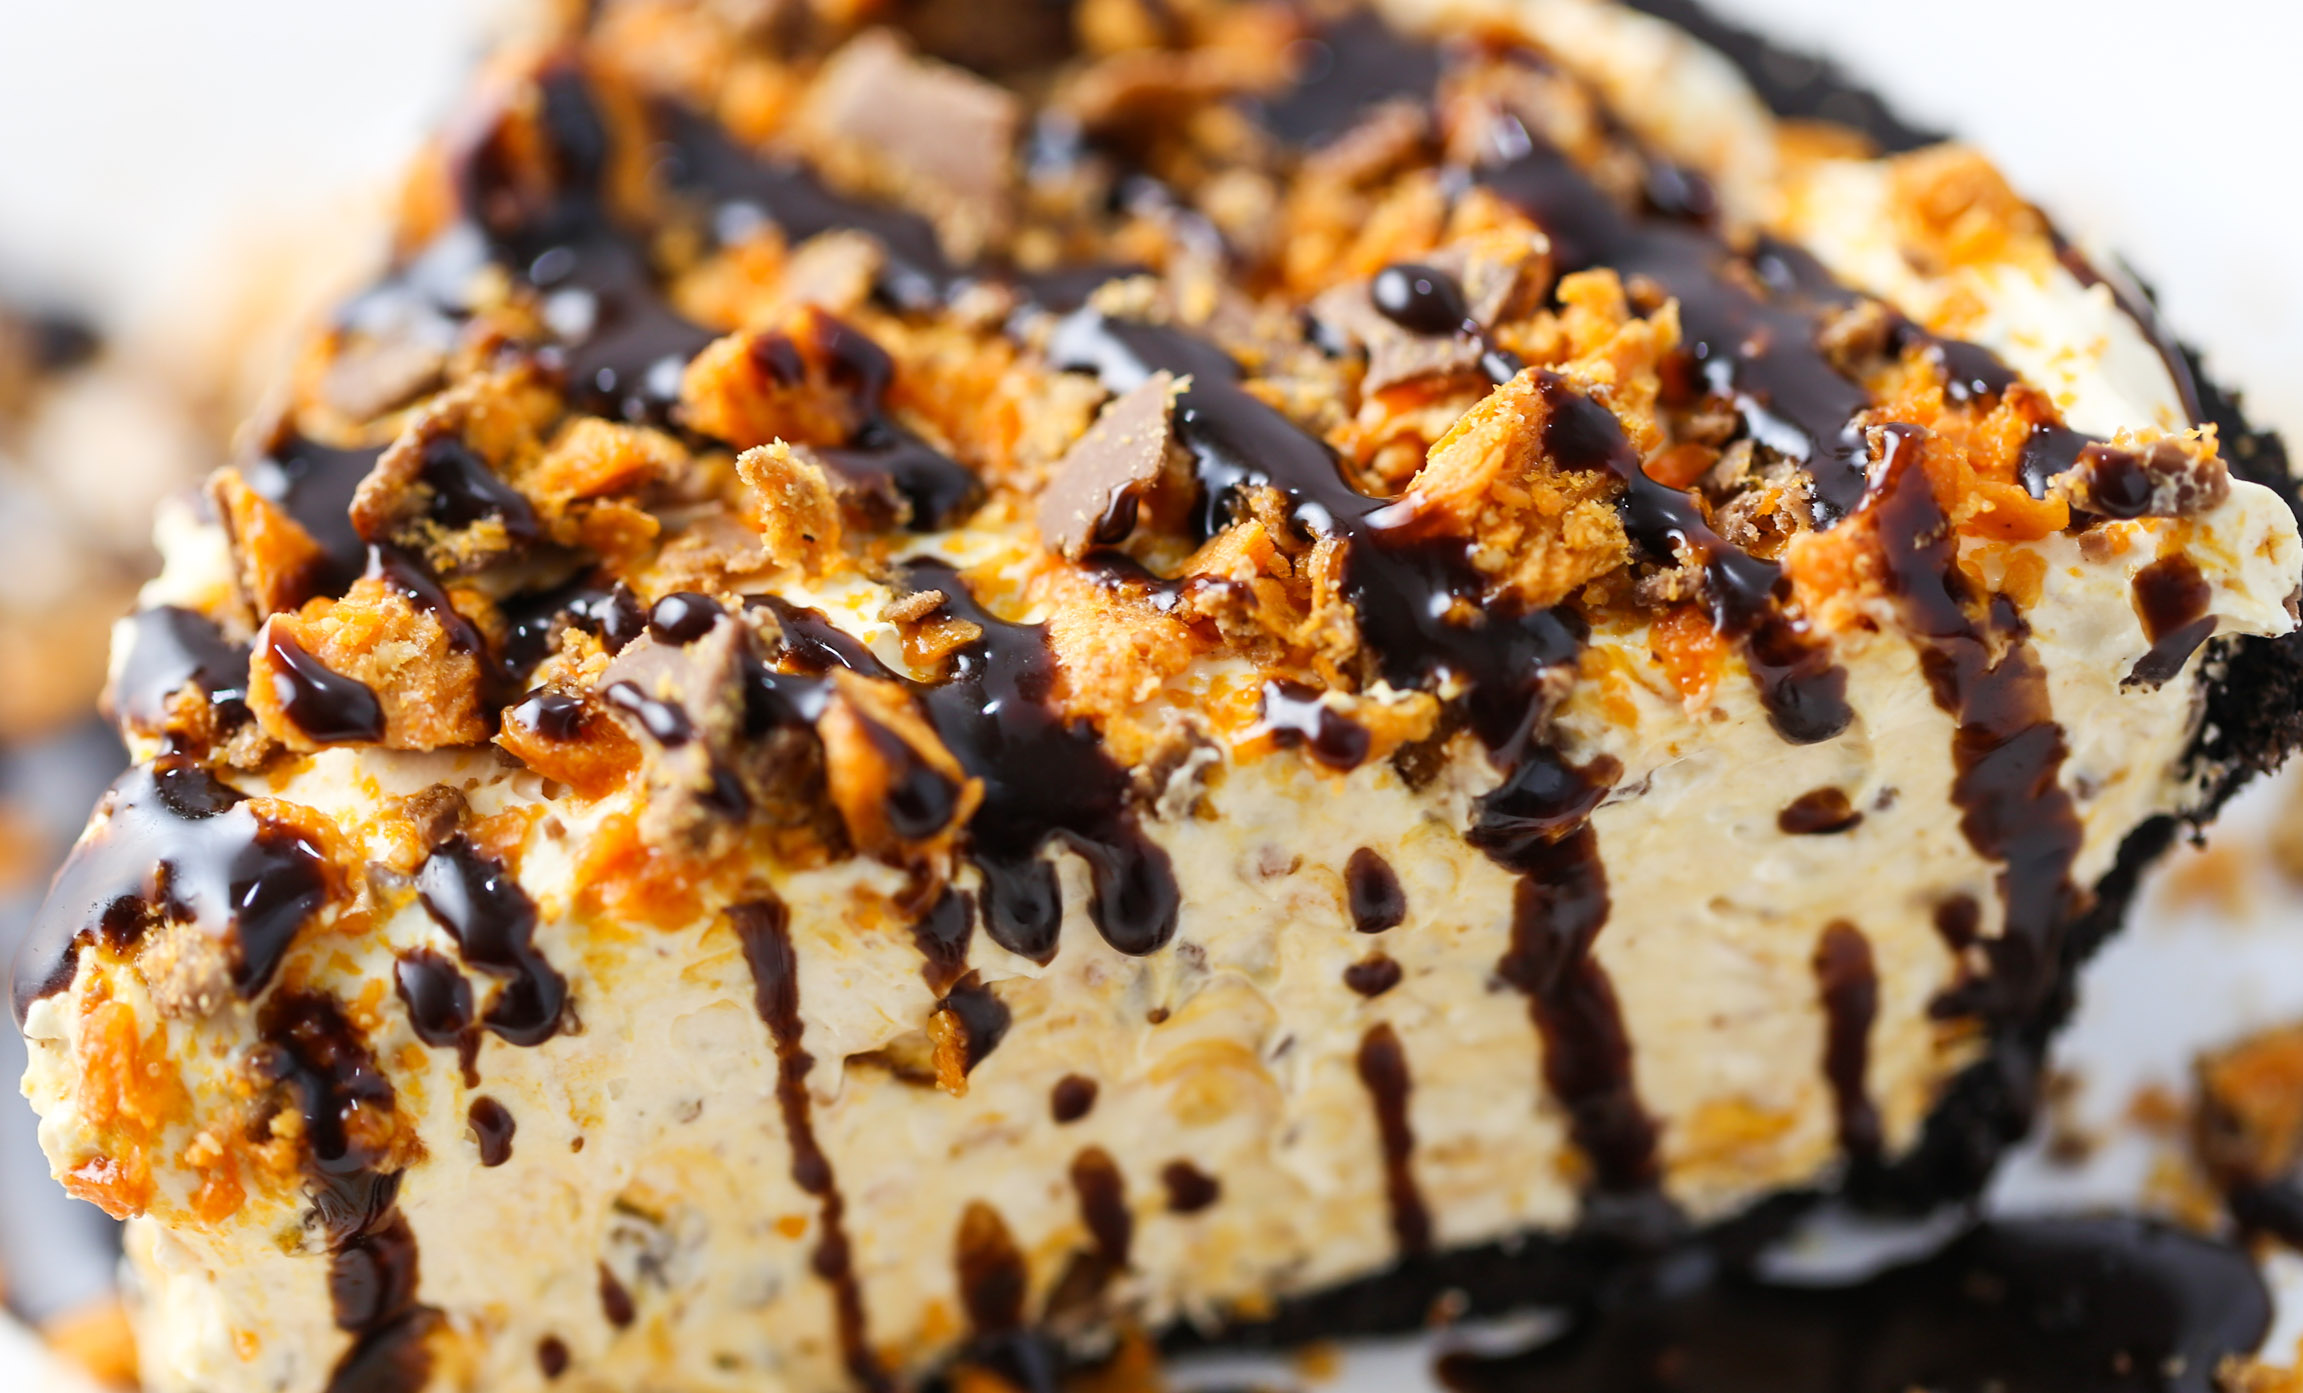
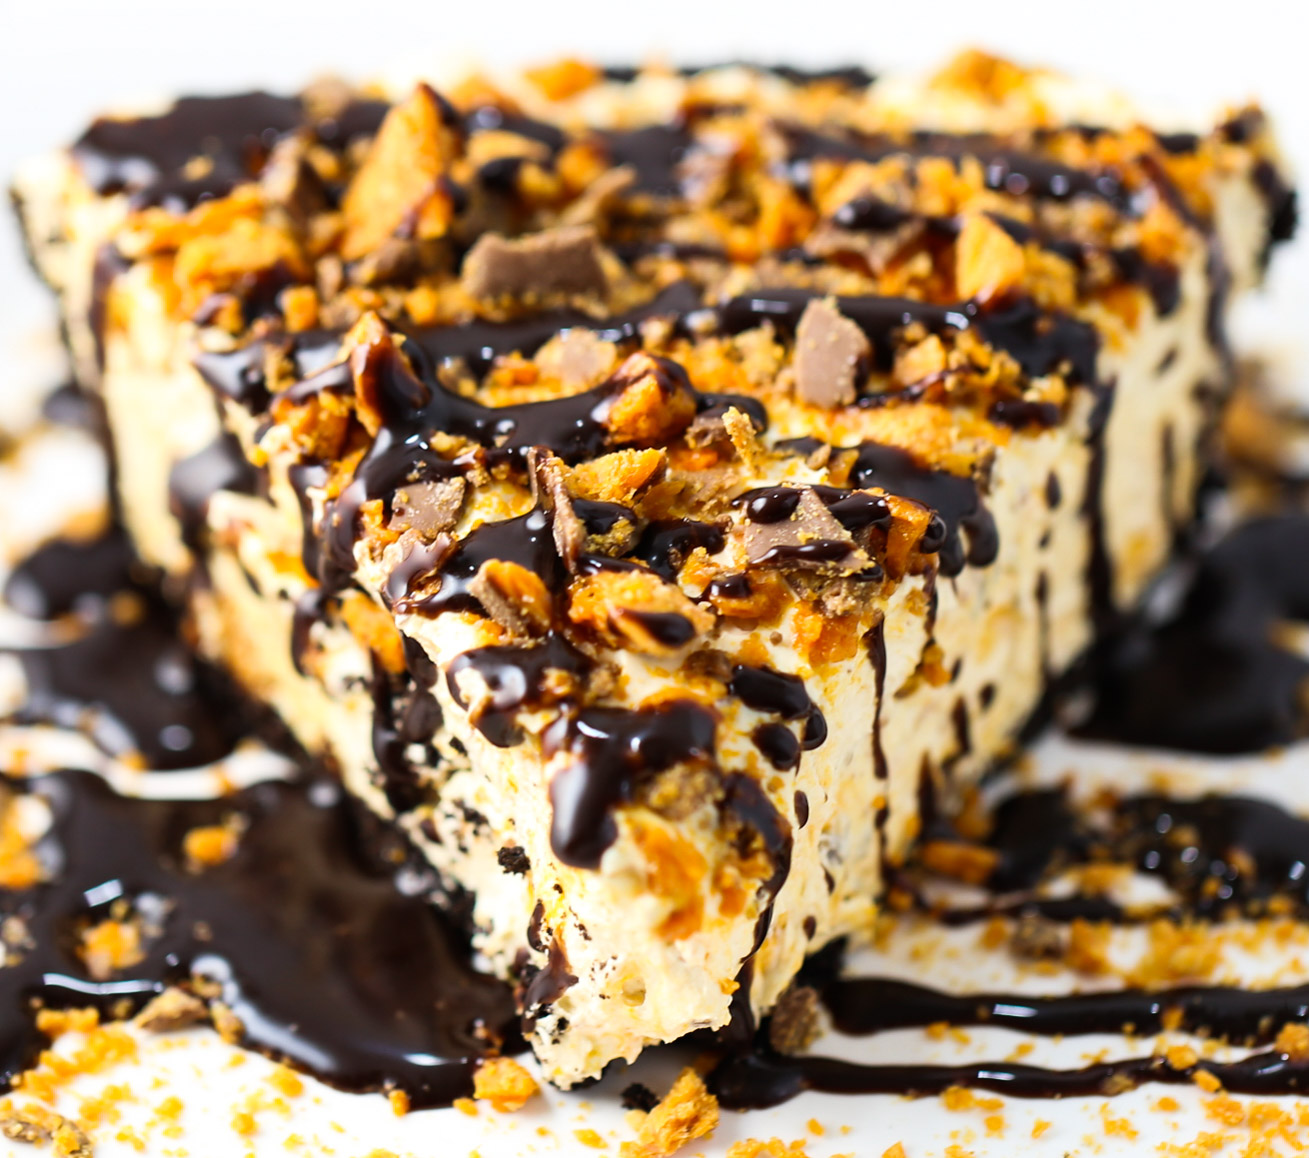
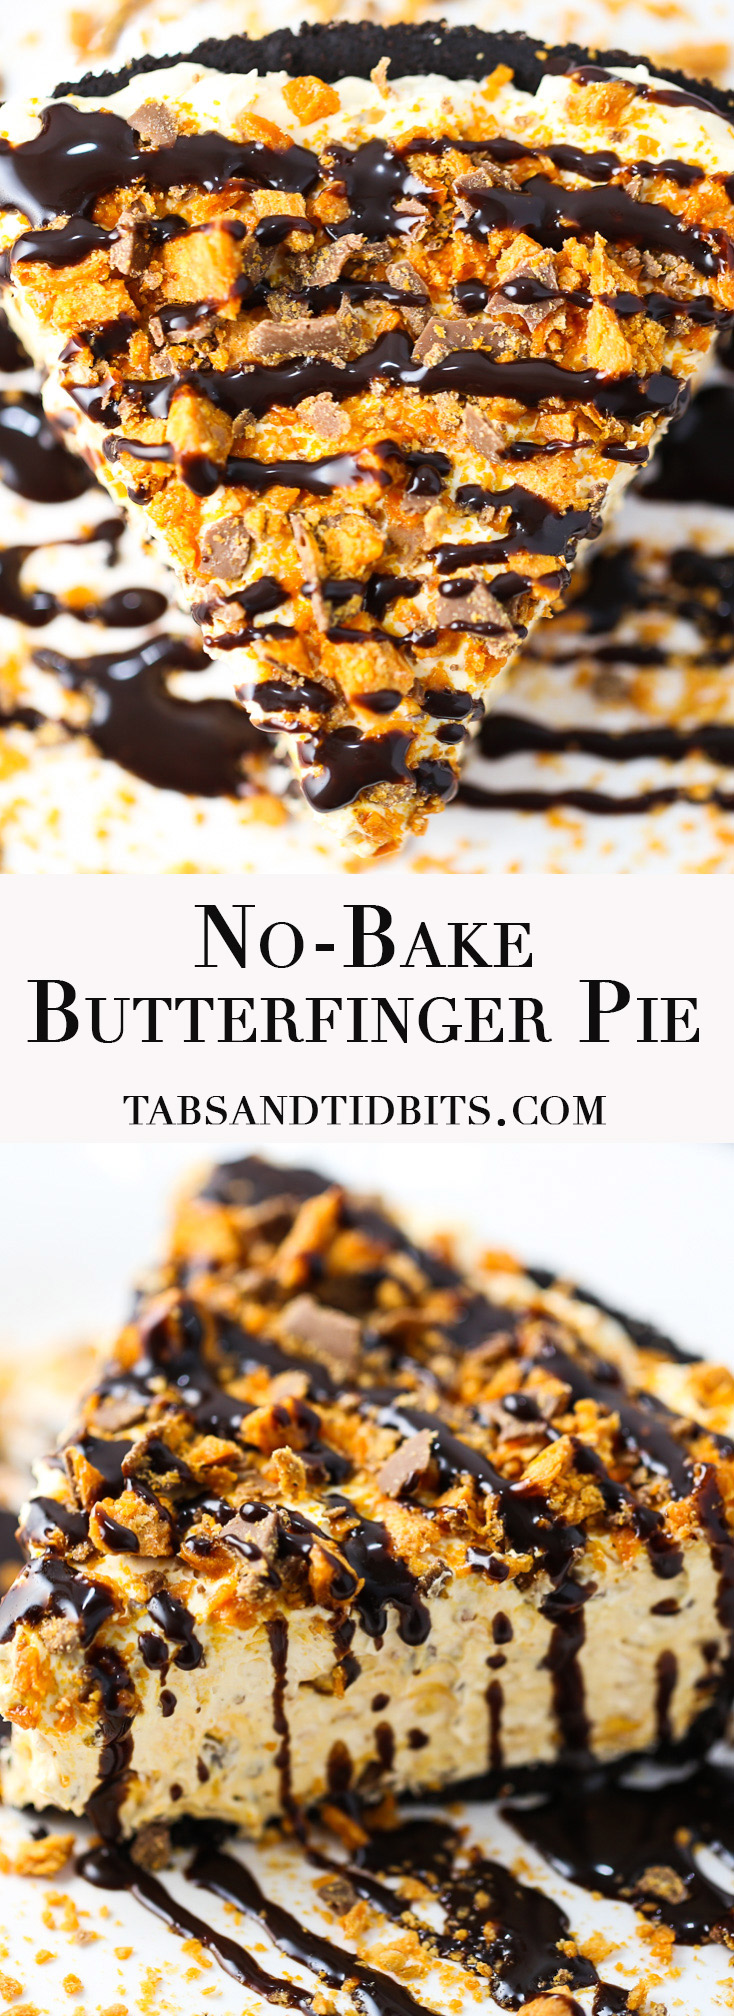
This No-Bake Butterfinger Pie is easy to make and even easier to eat! A creamy pie filled with crushed Butterfingers and topped with more Butterfingers and chocolateĀ sauce!


No Bake Butterfinger Pie

This pie is a cinch to make! The no-bake factor is great, but you have to give this pie some patience to chill in the refrigerator for at least 4 hours! Hard to do, but well worth the wait!

No Bake Butterfinger Pie

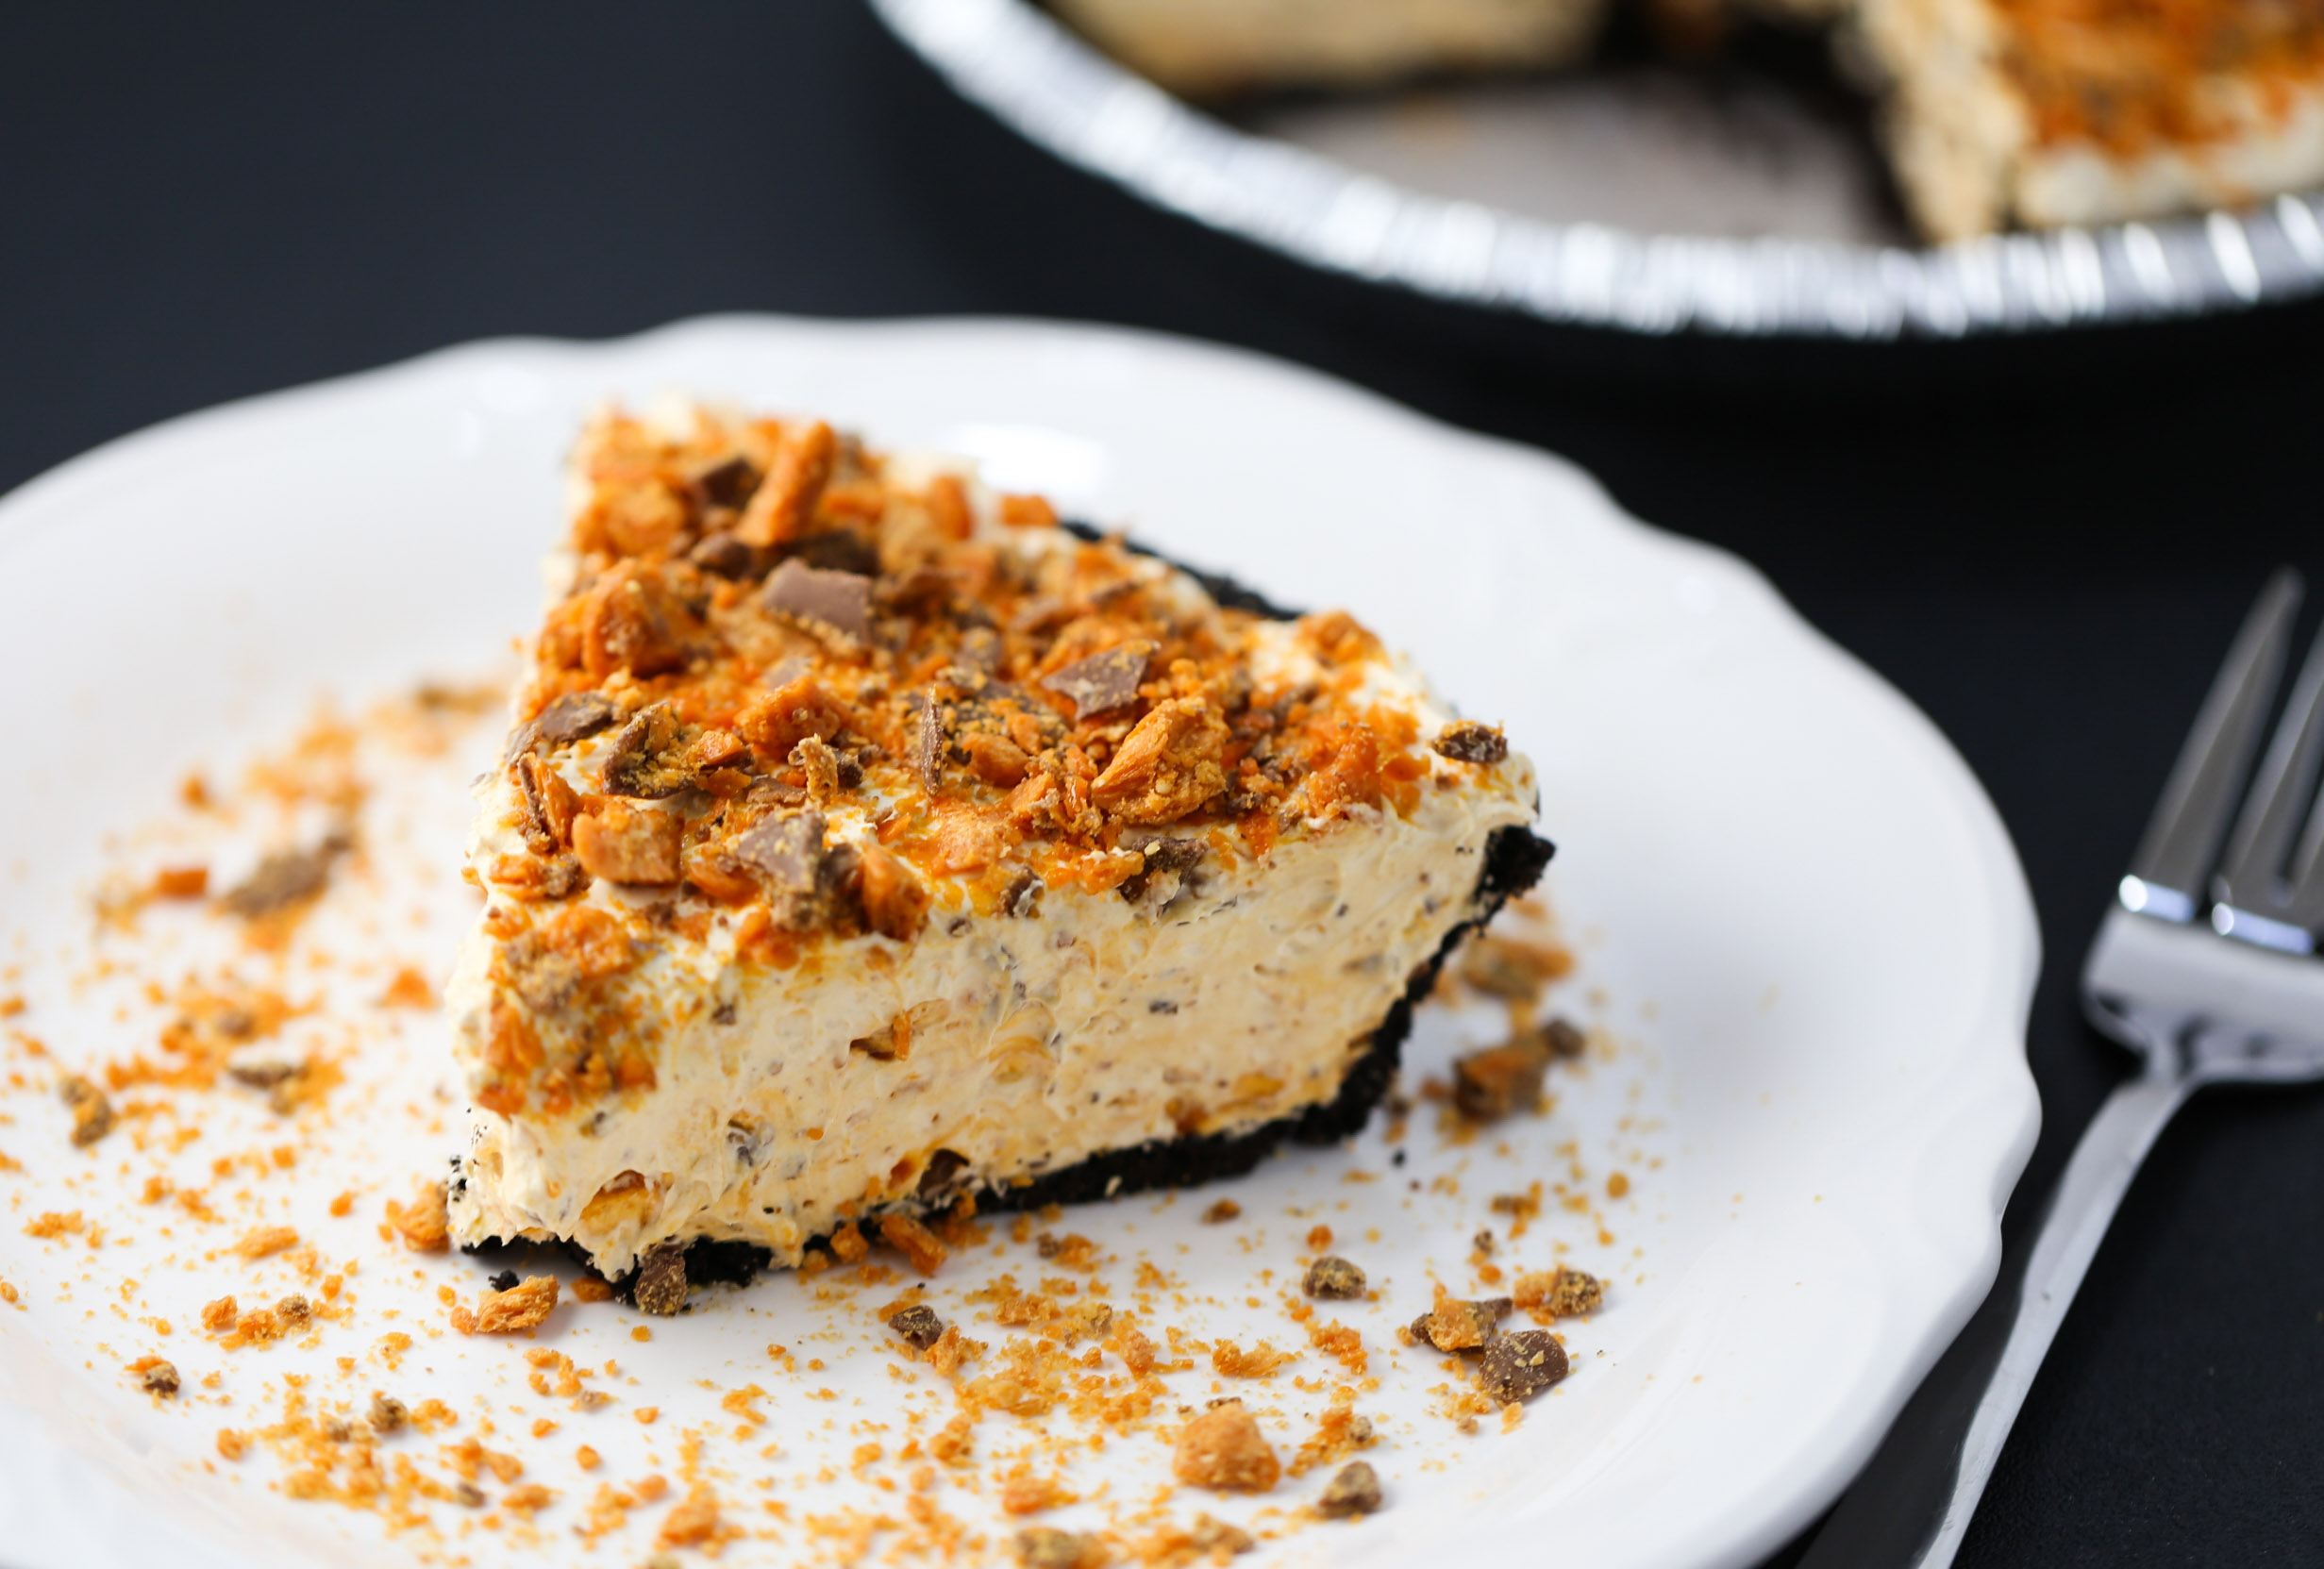
You can eat this pie without the chocolate sauce…

No Bake Butterfinger Pie

But, I highly recommend drizzling chocolate sauce over your slice!!

No Bake Butterfinger Pie

No Bake Butterfinger Pie
Print Recipe

No Bake Butterfinger Pie

A creamy pie filled with crushed Butterfingers and topped with more Butterfingers and chocolate sauce!
Prep Time15 minutes mins
Cook Time4 hours hrs
Total Time4 hours hrs 15 minutes mins
Course: Dessert
Servings: 6 -8

Ingredients

  • 1 store-bought Oreo pie crust
  • 1 8 oz cream cheese softened
  • 12 oz frozen whipped topping i.e. Cool Whip, thawed
  • 15 fun size Butterfinger candy bars divided
  • Chocolate Syrup store-bought, optional

Instructions

  • In a large bowl, add the cream cheese and whipped topping. Beat with an electric mixer on medium speed until creamy and smooth.
  • Crush 12 of the fun size Butterfinger bars. Add the crushed bars to the cream cheese mixture. Stir to incorporate. Spoon the mixture into the pie crust, and smooth the top.
  • Crush the remaining 3 fun size Butterfinger bars, and sprinkle over the top of the pie.
  • Place the pie in the refrigerator and chill for at least 4 hours.
  • Slice and serve with chocolate syrup drizzled over each slice.
  • Enjoy!

Notes

Recipe adapted from: Plain Chicken

No Bake Butterfinger Pie - A creamy pie filled with crushed Butterfingers and topped with more Butterfingers and chocolate sauce!


Spread the love

Filed Under: Dessert, Pies

« Tabby Tuesday #72
Weekly Meal Plan #20 »

Comments

  1. LJG says

    December 14, 2016 at 3:59 pm

    Love these easy delicious recipes.

    • Dayna says

      December 17, 2016 at 1:42 pm

      Thank you! I’m so happy you enjoy them!

NEW! Subscribe to receive emails when new posts go live

Subscribe

* indicates required
Email Format

Follow Tabs and Tidbits

  • Follow us on Pinterest
  • Follow us on Instagram
  • Follow us on Facebook
  • Follow us on YouTube

About Me

Hi! My name is Dayna. This blog shares uncomplicated vegetarian-friendly recipes and a passion for cat life!

Recent Posts

  • My Experience With Pet Insurance
  • Classic Pumpkin Bread
  • Easy Nutella Croissants
  • Swiss Cheese & Green Onion Hot Dip
  • Tabby Tuesday #206

Archives

Categories

Connect

Dayna is a food blogger and pet parent to Cooper the cat! Read More…

Copyright © 2025 — Tabs and Tidbits • All rights reserved. • Privacy Policy • Disclaimer

Genesis Framework • WordPress